

")


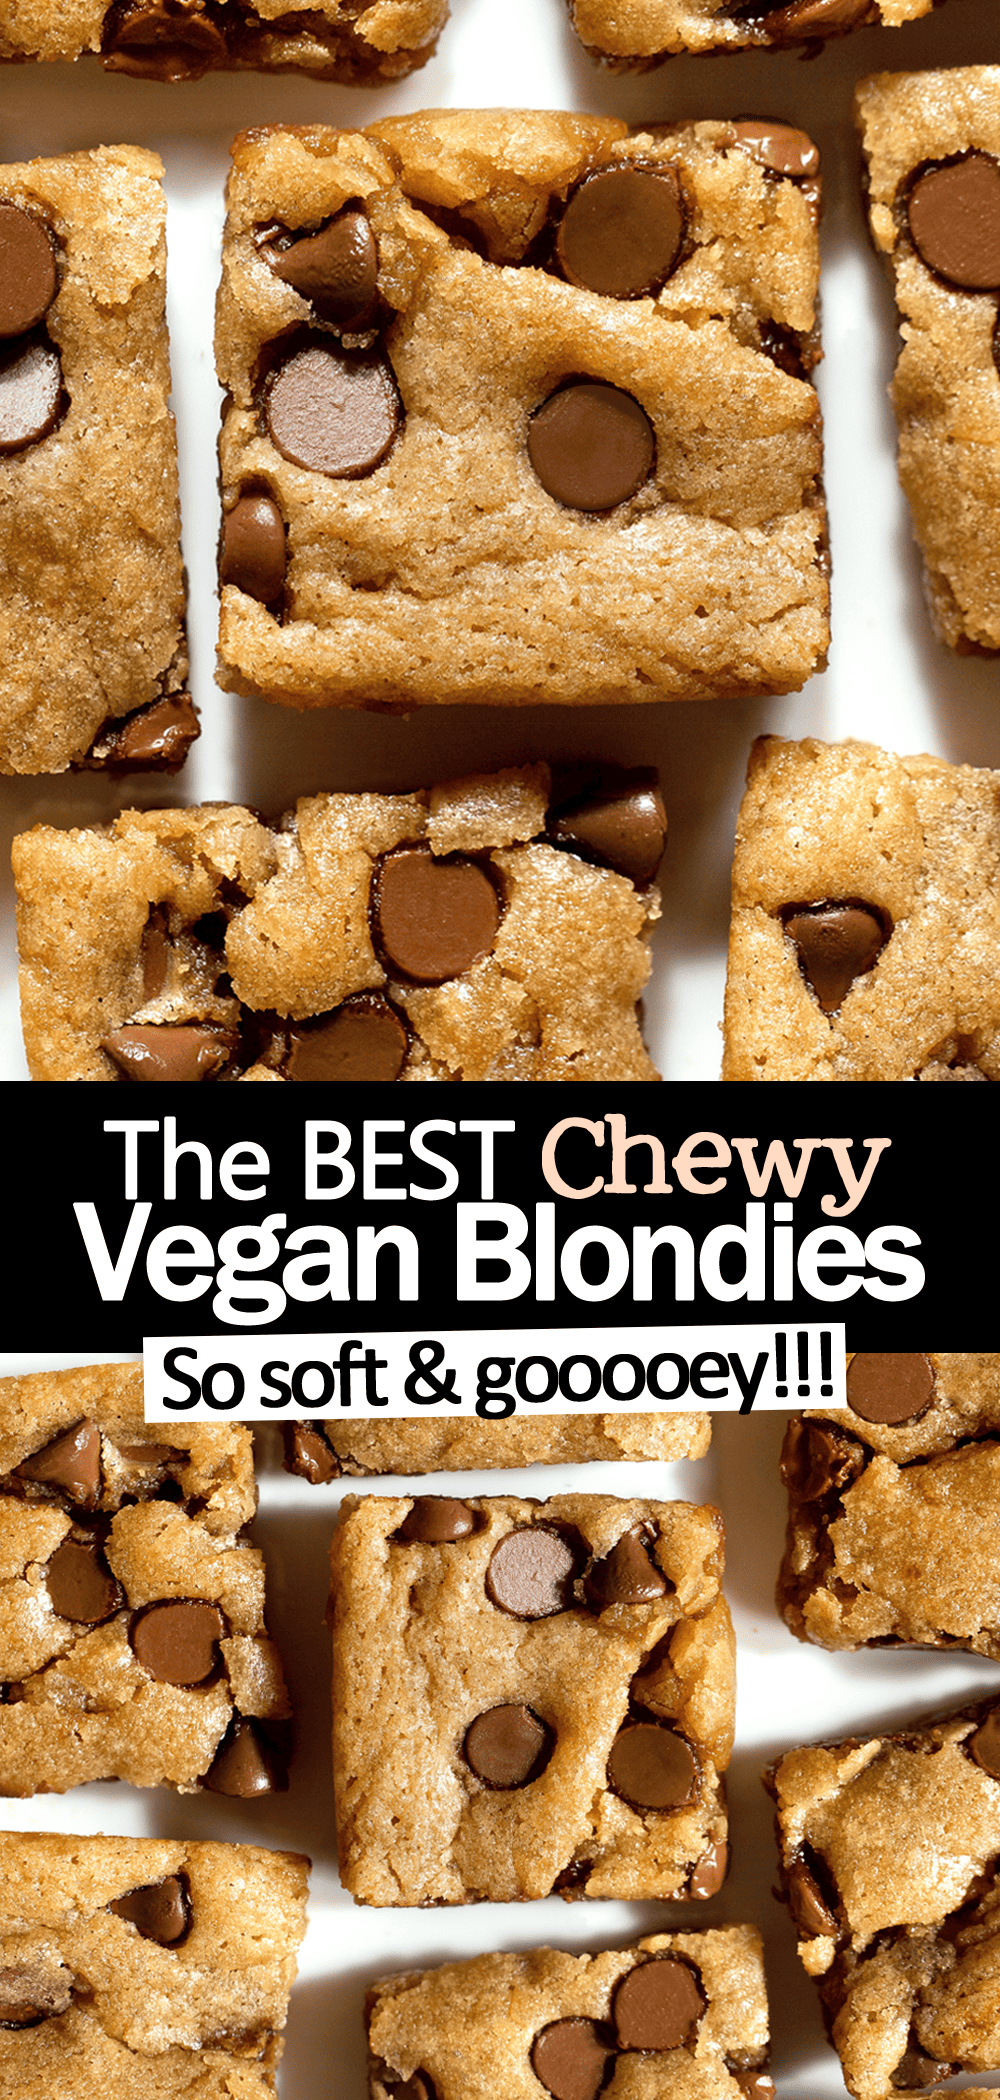
This is the ultimate vegan blondie recipe with perfectly chewy edges and gooey chocolate chips that melt into one delicious bite!


My Favorite Vegan Blondie
Don’t tell anyone. But I might actually like blondies more than brownies.
And these are definitely blondies worth breaking the bank for.
and Soft and chewy texture and classic Toll Gate Chocolate Chip Cookie FlavorHow can you resist going back for more?
This recipe is not just for vegetarians. Guests of all ages go crazy for these sticky blondie bars every time I serve them!
Want more chocolate? How to make vegan brownies
Step-by-step recipe video


Why You’ll Love These Vegan Chocolate Chip Blondies
- It’s super easy to prepare using pantry staples.
- The taste and texture are just like traditional blondies. No, it’s not only similar… It’s exactly the same. spot on Bakery Style Sticky Blondie BarsWithout sacrificing anything.
- With soy-free, gluten-free, and nut-free options, this is a great recipe for a school event, potluck, or neighborhood block party.
- Add chocolate chunks, cranberries, walnuts, whatever takes your fancy. You can easily customize basic recipes to create endless fun new flavors.


main ingredients
flour – Options that work well include white all-purpose flour, oat flour, or gluten-free all-purpose flour. I also love the nutty flavor when I use whole grain spelled flour.
sugar – After much experimentation with different sugars and sugar-free substitutes, I discovered that using a combination of white and brown sugar gave me the optimal flavor and light texture.
Vegetable Butter – You will need half a cup of vegan butter or oil (vegetable oil or coconut oil).
To make a true blondie, you will need all the amounts of fat listed in the recipe. You can achieve cake-like results by adding some or all of the butter to applesauce, non-dairy yogurt, or bananas. Delicious, but not a blondie.
Vanilla Extract – Pure vanilla extract, not imitation vanilla, enhances the taste of homemade chocolate chip cookies. If desired, also add a drop of almond or maple extract.
Other Ingredients – Baking powder and baking soda help bind the blondies and allow them to rise without the eggs. Salt adds depth of flavor.
Chocolate Chips – Include up to half a cup of dairy-free semisweet or dark chocolate chips in your vegan chocolate chip bar cookies. Traditional blondie recipes often, but not always, include chocolate chips. Even without the recipe, it’s still delicious.
Vegan Blondie Flavor Variations
Snickerdoodle Blondie: Omit the optional chocolate chips. Mix 1 part cinnamon powder and 4 parts white sugar in a bowl and sprinkle over the warm blondies.
Peanut Butter Blondies: Replace half of the vegan butter with an equal amount of softened peanut butter. Or, be bold and try homemade Nutella without milk.
Salted Caramel Blondie: Stir the chopped vegan caramel into the batter. Once the bars come out of the oven, sprinkle the tops with flaky sea salt.
White Chocolate Blondie: Use dairy-free white chocolate chips instead of dark chocolate chips. If you can find vegan butterscotch chips, even better!
Other flavor ideas: Try banana bread, blueberry, coffee, carrot cake, pumpkin, apple cinnamon, chocolate chip walnut or maple pecan.


How to Make Plant-Based Bars
- Gather all ingredients and preheat oven to 350°F or 177°C.
- Line the bottom of an 8-inch square baking pan with parchment paper. Set aside.
- In a large mixing bowl, add flour, sugar, baking powder, salt, baking soda, and optionally chocolate chips. Stir well until evenly mixed.
- Melt the dairy-free butter or oil if it is not already liquid. Then add the dry ingredients along with the vanilla extract and stir until evenly mixed.
- The dough should resemble chocolate chip cookie dough. Only if the dough looks dry (which can happen in rare cases with living in a dry climate) slowly stir in up to a tablespoon of non-dairy milk.
- Spread the blondie batter into the prepared pan, pressing it all the way up the sides of the pan so the batter takes up the entire surface area.
- Bake on center rack of preheated oven. If you want sticky blondies, remove after 20 minutes. If you want crispy edges and a more cooked center, remove after 23 minutes.
- Let the pan cool completely before cutting, as the bars will harden considerably as they cool. Alternatively, you can wait a few hours and the texture will become firmer.
- Store leftovers in a covered container on the counter for 2 days or in the refrigerator for up to 5 days. Alternatively, slice them into thin slices and freeze in an airtight container for up to 3 months.
Katie’s Tips for the Best Vegan Blondie
If you want something absolute The nicest, softest, stickiest As a result, I cannot stress enough the importance of following the recipe to the letter, at least when baking for the first time.
I’ve already tried a million substitutions and iterations to arrive at this perfect version. Options I’ve experimented with include lowering the butter amount, using all brown sugar, using sugar-free sweetener or pure maple syrup, or replacing the flour with almond meal.
All of the above ideas produce subpar results. Follow the recipe outlined below exactly, using gram measurements whenever possible. Then you won’t be disappointed!

")
-
1. Preheat oven to 350°F (177°C).
-
2. Line the bottom of an 8-inch square baking pan with parchment paper or grease it well. Set aside.
-
3. In a large bowl, whisk together the flour, sugar, baking powder, salt, baking soda, and optional chocolate chips until well combined.
-
4. Melt the vegan butter or oil. Mix dry ingredients with vanilla extract. Do not overmix.
-
5. The dough should resemble cookie dough. Only if it’s too dry, slowly stir in a tablespoon of non-dairy milk or water.
-
6. Spread evenly on the prepared pan. Sprinkle more chocolate chips on top, if desired.
-
7. Bake for 20 minutes for sticky blondies or 23 minutes for crispy edges. The texture hardens considerably during the cooling process, so let it cool completely before cutting.
-
8. Once cooled, store leftovers, covered, on the counter for up to 2 days or refrigerate in an airtight container for up to 5 days. For longer storage, slice and freeze for up to 3 months. Thaw or reheat before eating.
Easier Vegan Desserts


Vegan Cheesecake

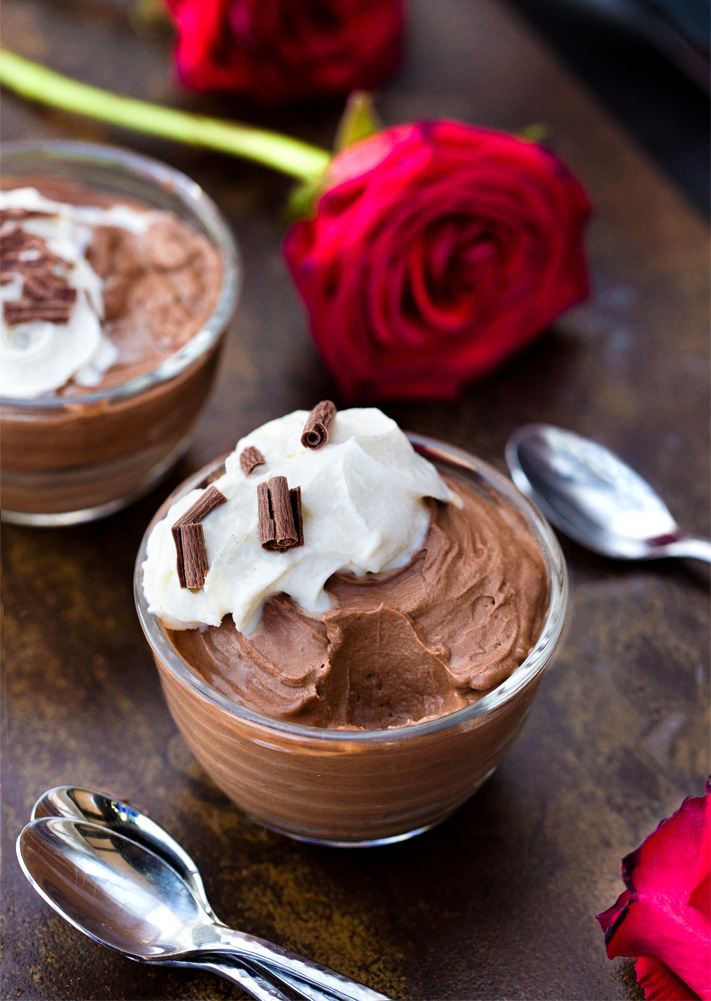
Vegan Chocolate Mousse

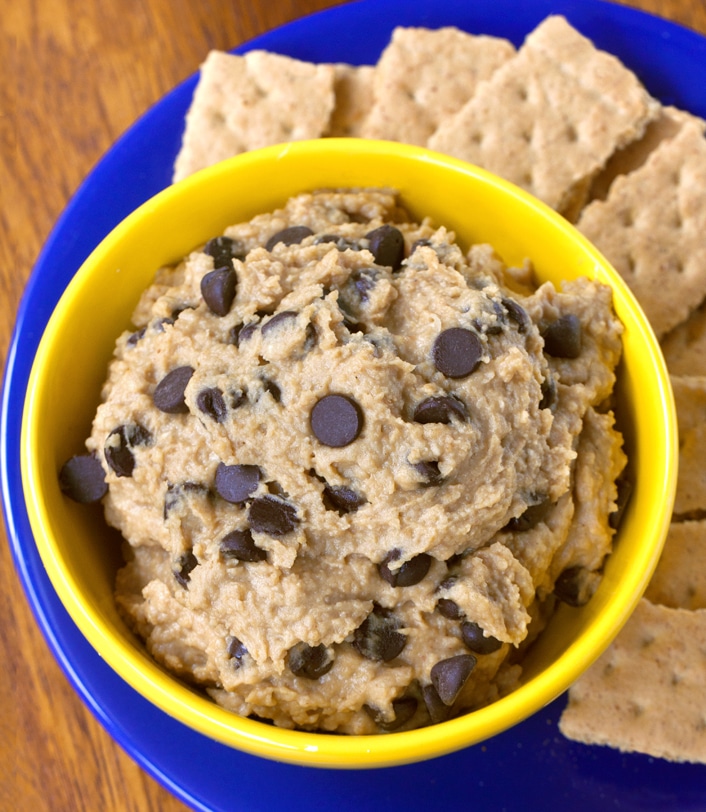
Chickpea Cookie Dough Dip

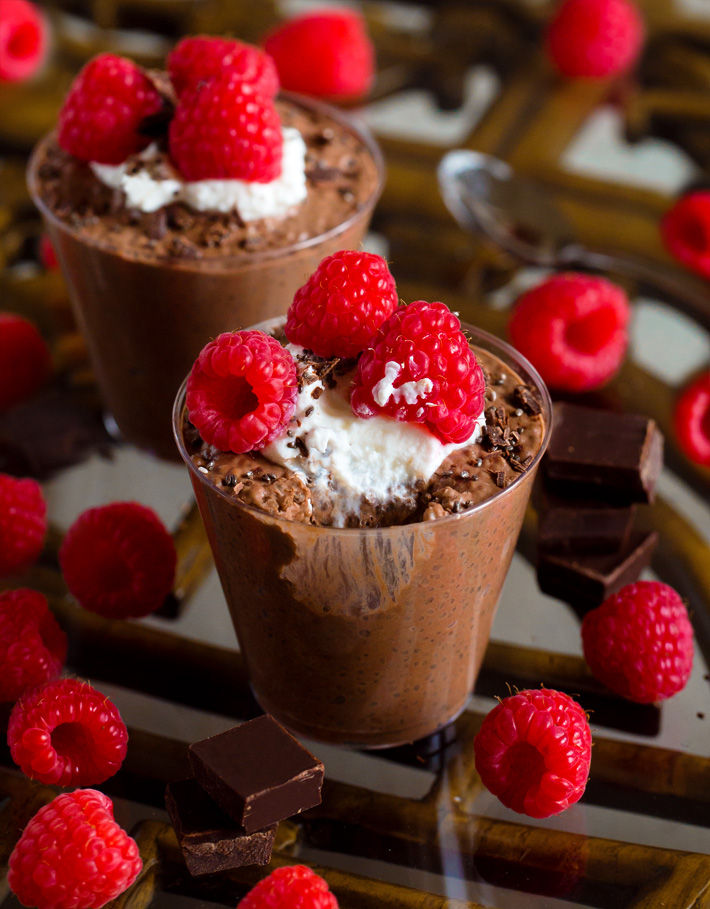
chocolate chia pudding

Vegan Peanut Butter Cookies

Vegan Carrot Cake

coconut ice cream


Vegan Blueberry Muffins


